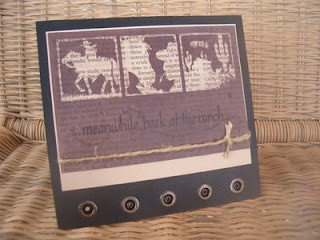

I made these clocks for the Paper Temptress blog, using all of the wonderful papers she has to offer.
Here are the instructions:
Cut one piece of c/s to 4 1/2 x 11 inches. This will be the outer part of the clock.
Cut another piece of c/s to 4 1/4 x 11 inches. This will be the center part or mat.
Attach both pieces together with d/s tape so that you have an even border between the two pieces of c/s ( as you would when layering a card front.)
Score at 3 3/8 inches from one side
Score at 3 1/8 inches from the other side.
Now when you fold it, you should have a 4 1/2 square center.
When you purchase your clock works (easily found at most craft stores and inexpensive) make sure you buy one with a short shaft, or else it will protrude too far out from the base of the clock.
Find the center of the piece by measuring from corner t corner on opposite sides and mark where the lines intersect.
Make a hole large enough to fit the clock works into. You may have to pad the back of the card to the clock works to make it sturdy. I use mounting tape for this.
Now you can improvise on these instructions and add embellishments to your clock. I did mine a bit different for the Father;s Day clock. I only used the 4 1/2 sheet of paper ( a sturdy weight) and then cut the center piece 4/1/4 square.
I hope you will give it a try. Email me if you have any questions.


